
Nature Printing and stamping on furniture & clothing
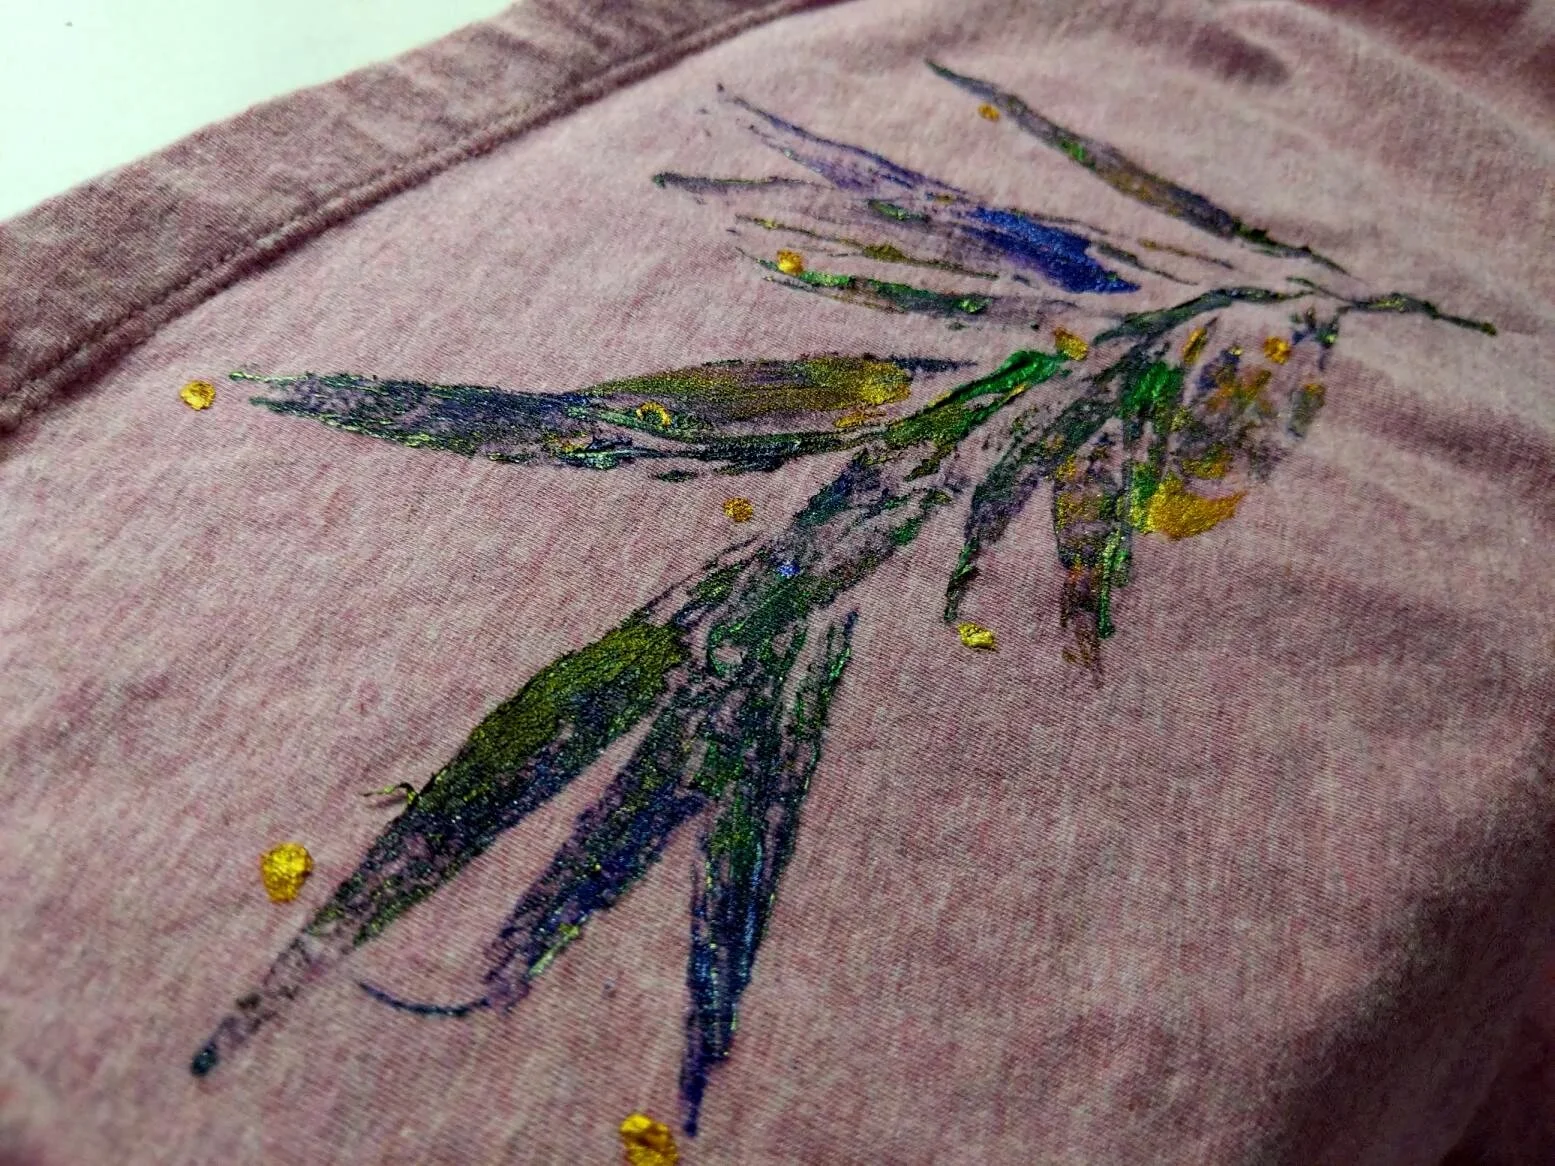
Nature printing is simple to do & you don’t need a lot of supplies. Furniture and fabric are excellent choices for nature printing or stamping with foam stamps; see the examples below. When working with furniture, sealing the items with epoxy or clear polyurethane to protect your images is a must.
I’ve added basic how-to instructions for the nature printing process below the photo gallery — Click on any photo for full size & details… then use the side arrows to scroll through the photos like a slideshow.


A simple process for nature printing on paper, fabric or wood. What you need to gather:
Nature Items: Pine needles, evergreens, a variety of leaves, grasses, sturdy flowers, fruit, like apples or pears, even twigs!
Then choose one or more of the surfaces below to print on:
Paper Items: Plain cards, plain paper, watercolor paper or cards to print on if you like.
Fabric Items: Pre-washed T-shirts, pillowcases, cloth napkins, place mats, tablecloths, sweatshirts, tote bags, plain fabric.
Furniture: tables, boxes, bookshelves, etc . . .
Paint for fabric, paper & wood: Acrylic is the best for this. My favorite acrylic paints are Jacquard’s Lumiere and Textile paints. Sponge the paint onto your nature items with a foam brush or a small sponge. For fabric items, you must HEAT SET the fabric with an iron as hot as the fabric will allow, in order to “set” the images permanently so they can be washed. Make sure the paint is dry. Use a press cloth or iron on the wrong side of the fabric for 1 minute on each area that you have nature printed. Use continuous motion. Do not wash your printed item for a week or two to further set your fabric printed piece. On wood, protect your nature prints with epoxy, clear polyurethane or a spray sealer.
Palette Sheet: You can use a paper plate or a piece of freezer paper as a paint palette to mix colors. You can also use freezer paper as a base when sponging paint on your leaves, etc.
Plain paper/Cover Sheets: You will need lots of plain paper to cover your nature items as you press and print. Use clean paper to cover your nature items each time you print.
Disposable gloves, if you don’t like messy hands.
Tweezers: Helpful for picking up your nature items before and after printing - your hands will remain much cleaner.
Baby wipes or a wet rag: To clean off the errant paint!
How to nature print:
Take your nature item (leaf, flower, etc.) and lay it right side up (the side you want to print) on your palette sheet. I use a paper plate or freezer paper for my palette because it has a coating that will protect your work surface. Grab a foam brush or a small soft sponge and dip it in the paint that you have already poured or mixed on the palette. Gently dab the paint on your nature item. If you want to mix colors, do this on the palette first. You can also use ink pads instead of paint for a “lighter” look.. Just tap the ink pad onto your nature item, on the palette, or press the nature item onto the pad. I like acrylic paint the best as I think it gives the best results, but you can try ink pads if you want a softer look.
Test your print: After painting or inking your leaf or flower, use tweezers or your fingers to pick up the nature item and place it painted side down. Important: do this on a scrap test piece first. Thin latex gloves are good for protecting your hands and the item you are printing on. Place the inked/painted side down onto scrap paper/wood/fabric to test.
To print: Place a plain paper cover sheet over the back of the nature item and gently press or rub your fingers all over the back of the cover sheet/nature item. Remove the cover sheet, use tweezers or your fingers to pick up the nature item. If you are using a sturdy item, you’ll be able to re-use it, but you must re-paint the item each time for a good print. If you are satisfied with your test print, go ahead and use the item on the actual piece.
Click here for a printable PDF of the Nature Printing instructions above.


A few more examples on nature printing


Try some nature printing! Click below for the Nature Print Gallery
